So, I purchased one of these USB to TTL converters, It seemed like a really powerful thing to work with. But I did not have the slightest clue on how to work with them. So, I played around a bit and was able to send and receive serial data using the converter. Here’s what I did:
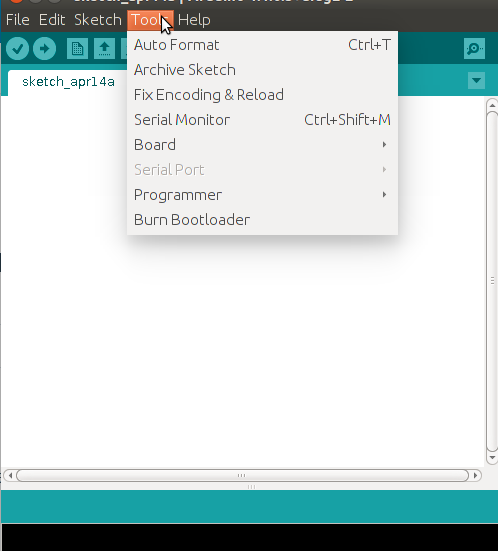
Step-1 – Finding the Serial port
There are ways to check the active serial port on Ubuntu using the command line but probably the easiest way to check is by connecting the converter and opening up the Arduino IDE.
Now if you have nothing connected to it, the Serial Port section would be greyed out.
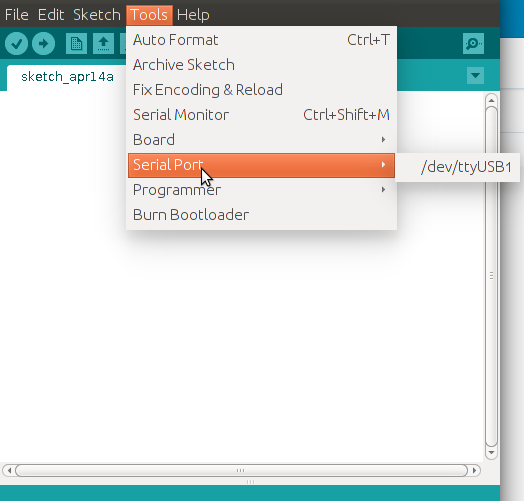
But once you insert your converter onto it, then you can immediately determine the serial port that converter has been connected to. In this case (see pic) it is ttyUSB1.
Step-2 – Writing the client program
Now that we have our serial ports ready, we need to write a simple program in Python that to read the data that will be sent to us.
client.py

import serial
ser = serial.Serial('/dev/ttyUSB1', 9600)

while 1:
    serial_line = ser.readline()
    print serial_line
Now our client program will print every line of serial data that is receives.
Step-3 – The server
Now that the client server is up and running, its time to set up the server. I just opened the serial port for transmission and left it at that.

The command for the transmission of serial data is write i.e
ser.write(data)

data - Data to send

returns the number of bytes written
Step-4 Testing
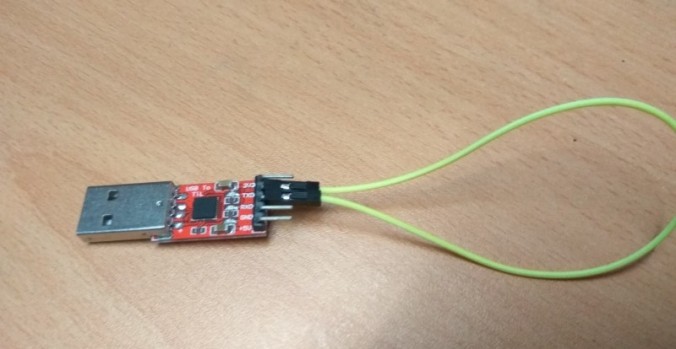
Finally, the TX and RX pins of the converter are shorted by using a jumper wire. That’s about it !
Whatever is sent through the TX port will now be received through the RX port. Everything has been setup. Now we can transmit and receive data !
Video Demo:
